Settings
Venues, ticket templates, promo codes, team management
The Settings page groups four configuration sections into tabs: Venues, Ticket Design, Promo Codes, and Team.
Venues
Manage the physical locations where your events take place. Venues can be reused across multiple events.
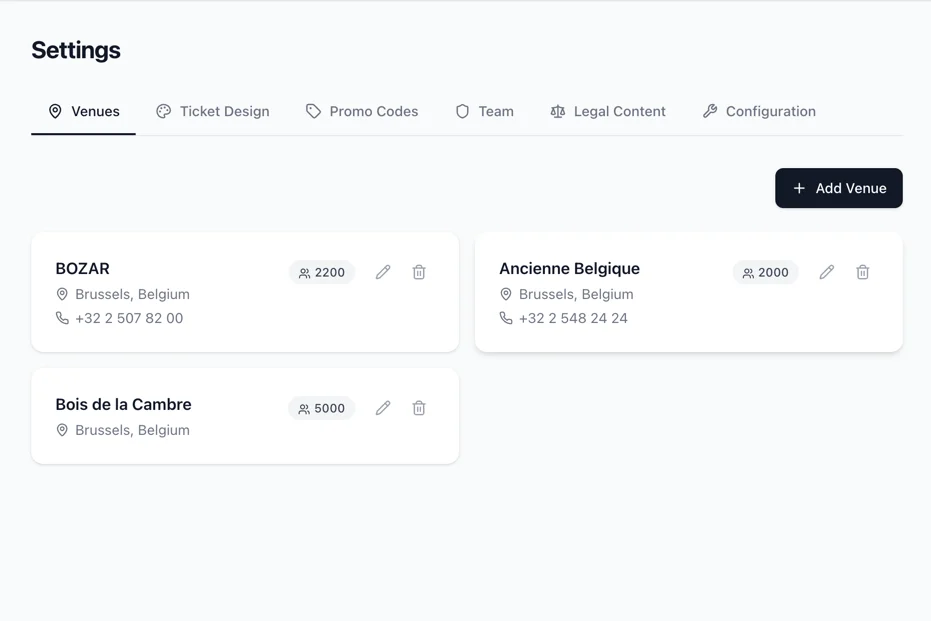
Venue Cards
Each venue is shown as a card with:
- Name
- City and country (if set)
- Phone number (if set)
- Capacity badge (if set)
Click a card to view full details.
Creating a Venue
Click + Add Venue to open the form.
| Field | Type | Required | Description |
|---|---|---|---|
| Name | Text | Yes | Venue name (e.g., "Grand Ballroom") |
| Street Address | Text | No | Street name and number |
| Postal Code | Text | No | ZIP or postal code |
| City | Text | No | City name |
| Country | Text | No | Country name |
| Phone | Text | No | Venue contact phone |
| No | Venue contact email. Must be a valid email or left empty | ||
| Website | Text | No | Venue website URL. Must be a valid URL or left empty |
| Capacity | Number | No | Maximum number of people the venue can hold |
| Notes | Textarea | No | Internal notes about the venue |
Venue Detail
Click a venue card to see all its information and linked events.
Linked Events shows all events using this venue, with event name and date.
Actions:
- Delete (red) - Removes the venue. Only possible if no events are linked to it
- Edit - Opens the edit form with current values
Ticket Design (Templates)
Ticket templates control the visual appearance of PDF tickets. Each template defines colors, logo, background image, and layout.
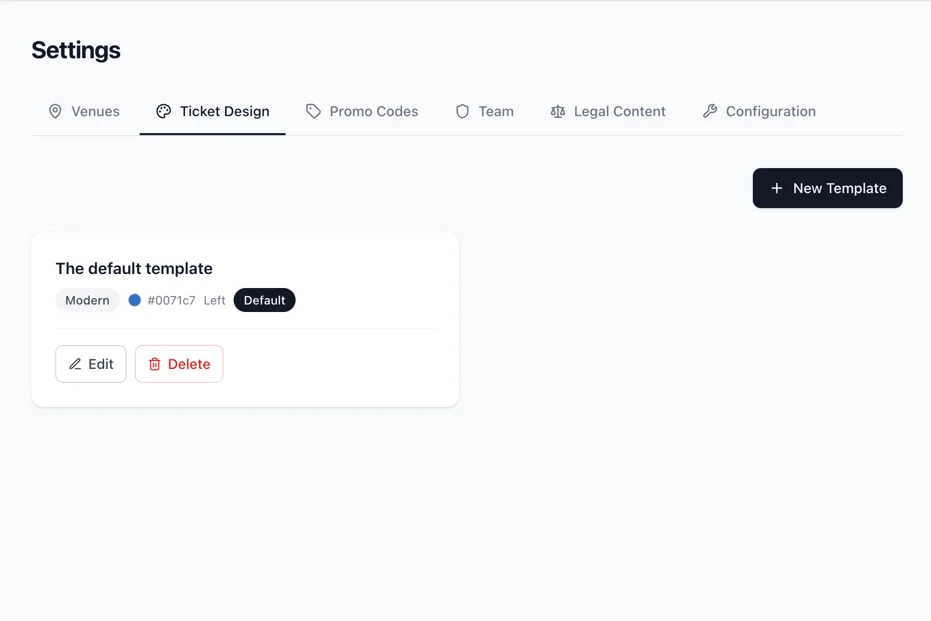
Template Cards
Each template shows:
- Name
- Base style badge (Modern, Classic, Minimal)
- Primary color (color swatch + hex code)
- Image position (Left or Right)
- "Default" badge if this is the default template
- Edit and Delete buttons
Creating a Template
Click + Create Template to open the form.
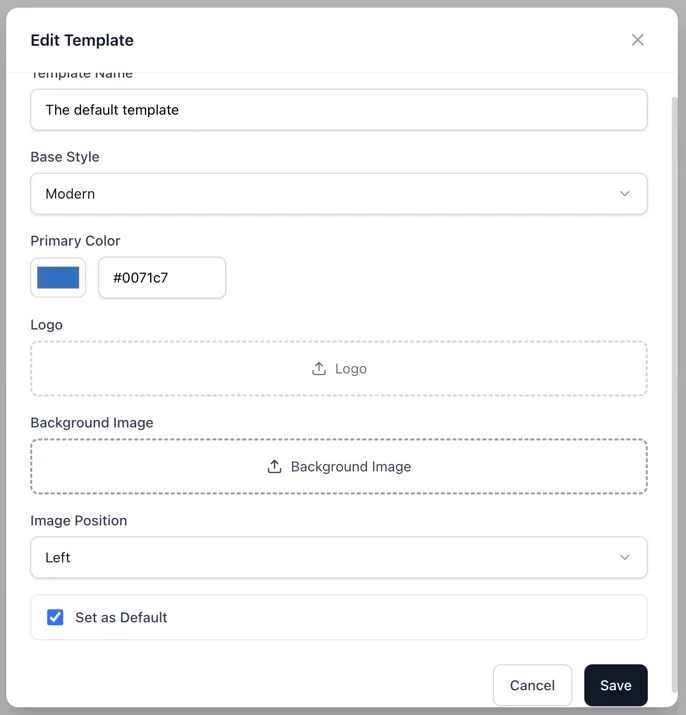
| Field | Type | Required | Default | Description |
|---|---|---|---|---|
| Name | Text | Yes | - | Template name for your reference |
| Base Template | Dropdown | Yes | Modern | The layout style. Currently "Modern" is the active template |
| Primary Color | Color picker + Text | Yes | #1a1a1a | The accent color used in the ticket PDF (event name, separator line, ticket type label) |
| Logo | File upload | No | - | Square logo image shown on the ticket (top-right corner, 10x10mm). Use your organization's logo |
| Background Image | File upload | No | - | Image that fills one half of the ticket. If not set, falls back to the event's cover image. If neither exists, the primary color fills the area |
| Image Position | Dropdown | Yes | Left | Which side of the ticket the image appears on (Left or Right) |
| Set as Default | Checkbox | No | Unchecked | When checked, this template is used for all events that don't have a specific template assigned |
About the Modern template layout:
- Half the ticket is the image (cover mode, cropped to fill)
- The other half contains: event name, date, venue, address, holder name, ticket type, QR code, and ticket ID
- A dashed separator line divides the two halves
- Logo appears in the top-right corner of the entire ticket
Editing and Deleting
- Click Edit on a template card to modify it
- Click Delete to remove it (asks for confirmation)
Note: You cannot delete the default template if it's the only one. Create another template and set it as default first.
Promo Codes (Reduction Codes)
Create discount codes that buyers can apply during checkout.
Promo Codes Table
| Column | Description |
|---|---|
| Code | The code buyers enter (monospace, uppercase) |
| Type | "Percentage" or "Fixed" |
| Discount | The discount amount (e.g., "20%" or "5.00 EUR") |
| Event | Which event the code applies to, or "All Events" |
| Uses | Current usage vs maximum (e.g., "3 / 10") |
| Status | Code status badge |
Click any row to view the full details and usage history.
Code Statuses
| Status | Color | Meaning |
|---|---|---|
| Active | Green | Code is valid and can be used |
| Exhausted | Amber | Maximum number of uses reached |
| Expired | Gray | The valid_until date has passed |
| Invalidated | Red | Manually disabled by an admin |
Creating a Promo Code
Click + Create Code to open the form.
| Field | Type | Required | Default | Description |
|---|---|---|---|---|
| Code | Text | Yes | - | The code buyers will enter. Automatically converted to uppercase and trimmed |
| Description | Text | No | - | Internal description for your reference |
| Discount Type | Dropdown | Yes | Percentage | Choose between percentage-based or fixed amount discount |
| Discount Value | Number | Yes | - | The discount amount. For percentage: 1-100. For fixed: amount in cents |
| Currency | Dropdown | Conditional | EUR | Only shown for fixed discounts. Options: EUR, USD, GBP |
| Event Scope | Dropdown | Yes | All Events | Limit the code to a specific event, or allow it for all events |
| Ticket Type Scope | Dropdown | Conditional | All Types | Only shown when an event is selected. Limit the code to a specific ticket type |
| Max Uses | Number | Yes | 0 | Maximum number of times the code can be used. 0 means unlimited |
| Valid From | Date + Time | No | - | When the code becomes active. Leave empty for immediate activation |
| Valid Until | Date + Time | No | - | When the code expires. Leave empty for no expiration |
Validation rules:
- Code is required and must be unique
- For percentage type, discount value must be between 1 and 100
- For fixed type, currency is required
- If you set a Ticket Type Scope, you must also set an Event Scope
Code Detail
Click a code row to see the full information and usage history.
Code Information: All fields from creation displayed in a grid.
Invalidate button: A red button that permanently disables the code. Asks for confirmation. Once invalidated, the code cannot be reactivated.
Usage History: A table showing every time the code was used:
| Column | Description |
|---|---|
| Buyer | Name and email of the buyer who used the code |
| Discount Value | The actual discount applied (in the order's currency) |
| Status | reserved (payment pending), confirmed (payment completed), released (payment expired) |
| Date | When the code was used |
How Promo Codes Work
- Buyer enters a code during checkout
- The system validates: code exists, is active, not expired, not exhausted, applies to the items in cart
- If valid, the discount is applied to the order total
- The code is "reserved" (a use is counted temporarily)
- If payment completes, the reservation is "confirmed"
- If payment expires or fails, the reservation is "released" (the use count is decremented)
This reservation system prevents race conditions where multiple buyers try to use the last available use simultaneously.
Team
Manage admin users who have access to this admin panel.
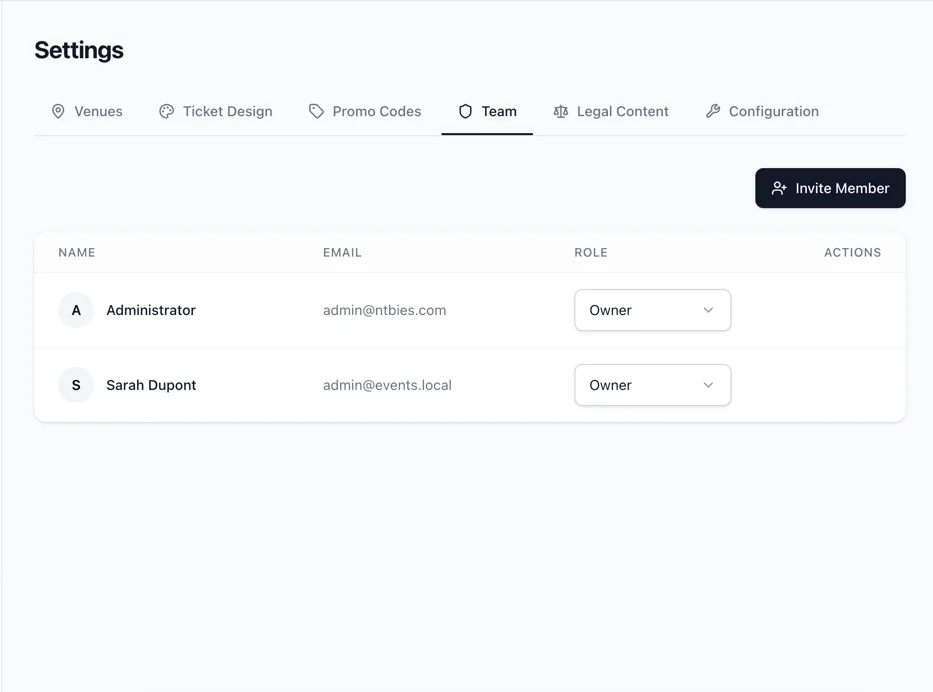
Team Members Table
| Column | Description |
|---|---|
| Name | Full name with avatar |
| Admin's email | |
| Role | Dropdown to change role (Owner, Editor, Viewer) |
| Actions | Delete button |
Roles can be changed inline by selecting a different value from the dropdown. The change takes effect immediately.
Inviting a Team Member
Click + Invite to open the form.
| Field | Type | Required | Default | Description |
|---|---|---|---|---|
| Name | Text | Yes | - | Full name of the new admin |
| Yes | - | Must be a valid email. Must be unique (no duplicate admin accounts) | ||
| Password | Password | Yes | - | Initial password. Minimum 8 characters. The new admin should change it after first login |
| Role | Dropdown | Yes | Editor | Access level. Options: Owner, Editor, Viewer |
Role Permissions
| Permission | Owner | Editor | Viewer |
|---|---|---|---|
| View dashboard, events, orders | Yes | Yes | Yes |
| Create/edit events | Yes | Yes | No |
| Manage ticket types | Yes | Yes | No |
| Manage guests and invitations | Yes | Yes | No |
| Manage venues | Yes | Yes | No |
| Manage promo codes | Yes | Yes | No |
| Manage ticket templates | Yes | Yes | No |
| Manage team members | Yes | No | No |
Deleting a Team Member
Click the trash icon on any team member row. A confirmation dialog will appear. Once confirmed, the admin user is permanently removed and can no longer log in.
Note: Only Owners can manage the Team tab. Editors and Viewers do not see this section.